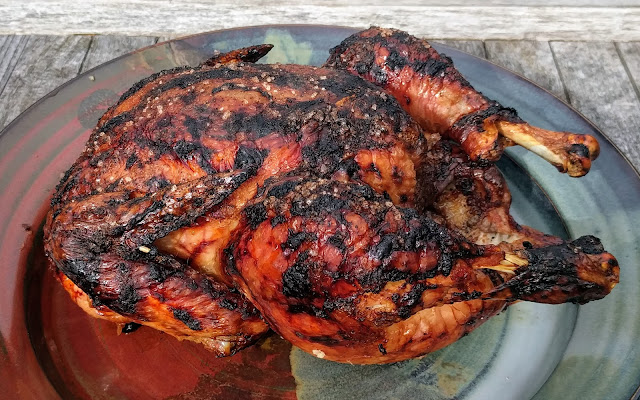
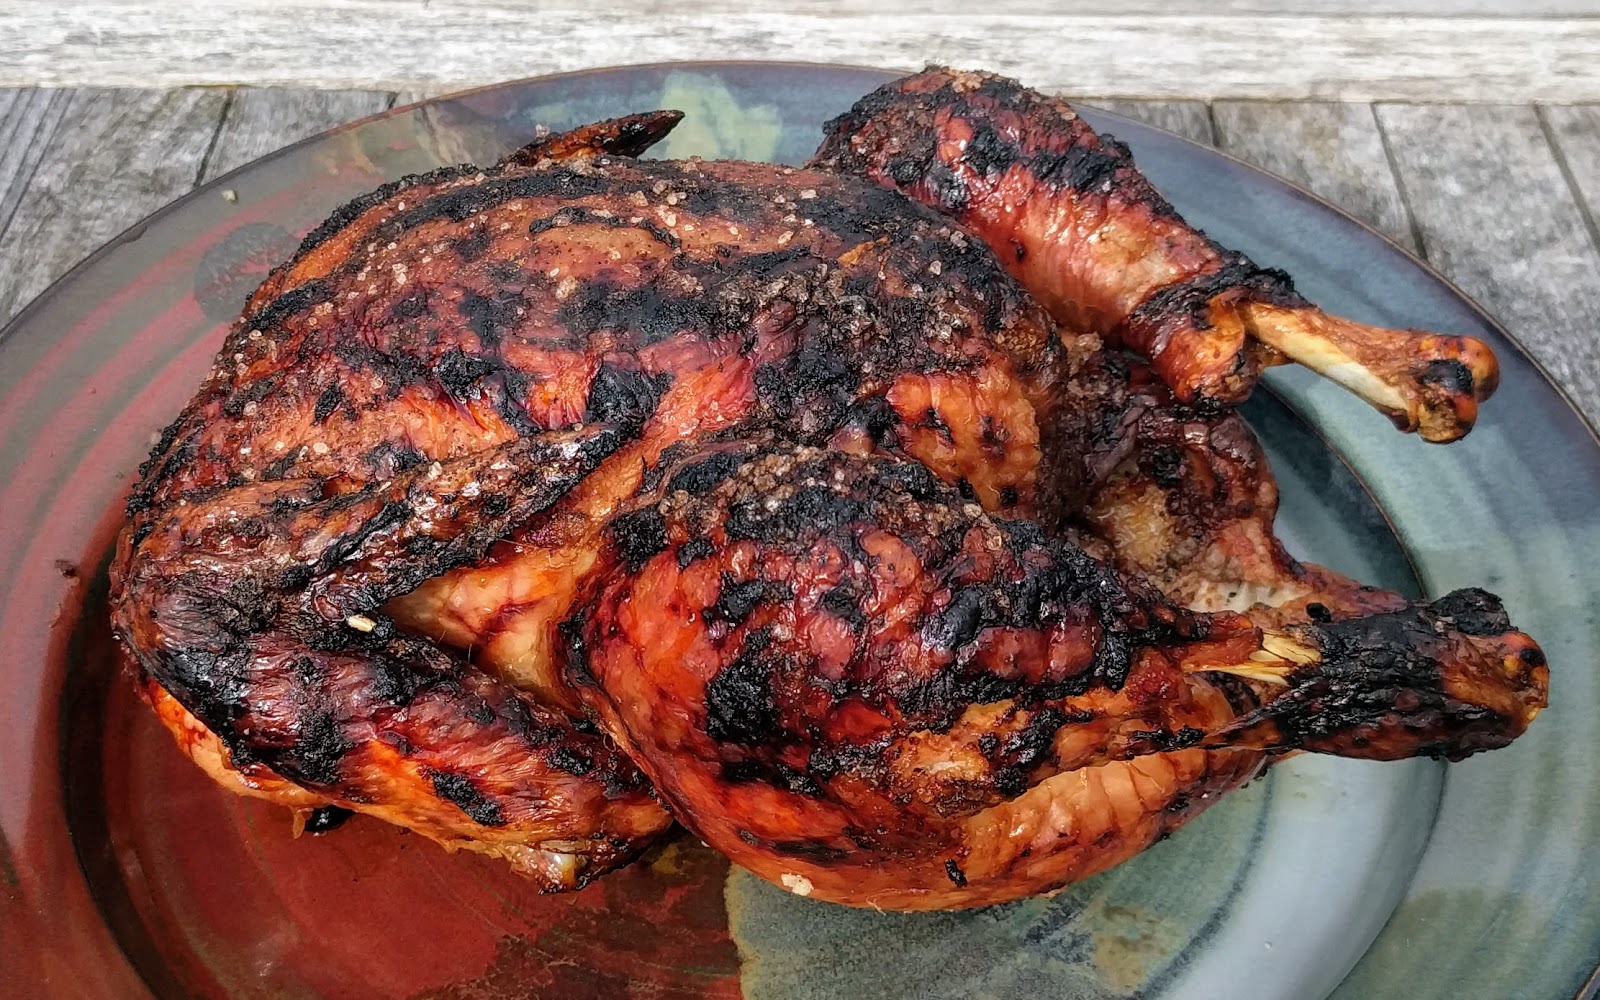
Kastaz Roasted Poultry
My usual approach to roasting a chicken is to season it generously with a flavourful selection of herbs and spices. How, exactly, I season it varies depending on the specific flavour I'm going for, but there are usually at least have a dozen different seasonings on that bird before it gets cooked, and sometimes more! Kastaz roasted poultry follows the Charr tradition of keeping their meat fairly simple and to-the-point. I was worried that salt, pepper, and garlic alone wouldn't be enough to produce a robust, full-flavoured bird. I needn't have been concerned and, in fact, think I will be following this method for all of my roast chickens from here on out! I am not exaggerating when I say this was the best roast chicken I have ever eaten. Delicious, flavourful meat and the crispiest, most delectable skin I've ever encountered on any animal! And the rich, mahogany pan drippings produced the best gravy I've ever had the pleasure of eating. Are you hungry yet? (If not, you're probably either dead or a vegetarian.)
Kastaz Roasted Poultry
1 medium chicken (~6 lbs.)
1/4 c. garlic paste
freshly ground black pepper
coarse sea salt
1 onion (optional)
Slather the chicken all over with garlic paste, inside and out. (Make sure all the organs have been removed from the cavity before starting.) Sprinkle generously with black pepper. Scatter a few small pinches of sea salt over the surface as well. If you have an onion on hand, peel it and cut it into eighths. Place one piece of onion inside the chicken. Place the remaining onion in the pan around the chicken.
Preheat the oven very hot (450F). Once oven in preheated, place chicken inside. Immediately reduce temperature to a moderate level (350F). Cook chicken for ~2 hours.1 Remove chicken to a serving platter, and let rest for 10-20 minutes. While the chicken rests, you have the perfect opportunity to make gravy with the pan drippings.

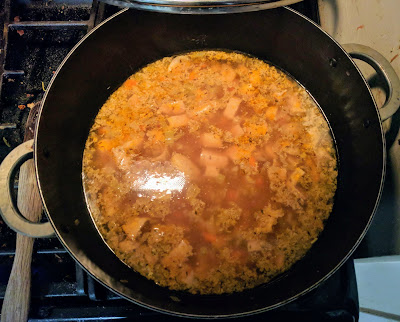
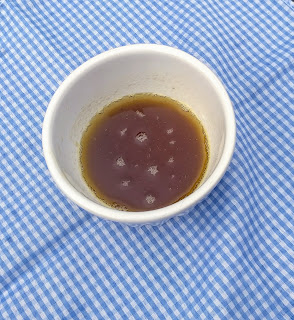
Place the roasting pan over medium heat. Add a bit of water (I think I used ~1/2 c.), swish it around, and vigorously scrape the bottom of the pan to release any cooked on bits of deliciousness. Get yourself some more water and mix in a few Tbsp. of flour. Mix well. Pour the flour-water mixture into the pan and cook, continuing to stir and scrape the bottom of the pan, until sauce thickens.2 Pour into a jug or gravy boat. If gravy seems very fatty, you may want to let it rest for a few minutes and then skim some of the fat off the top. Season to taste with salt and pepper (although I didn't need any this time) and enjoy with your delicious roasted chicken!
1 The rule of thumb I was taught says 20 minutes per pound + 20 minutes. Accordingly, I cooked my 6-lb. chicken for 140 minutes (20*6+20). And the results were incredibly delicious. That said, I think it would've been done twenty minutes earlier and this would have resulted in even juicier, more succulent meat.↩
2 Some cooks will strain the gravy at this point, removing any lumps, chunks of onion, etc. I find that I don't tend to have issues with floury lumps forming and I quite enjoy the blackened chunks of roasted onion floating in the sauce, so I never bother with straining for my part.↩
Kastaz Roasted Poultry
1 medium chicken (~6 lbs.)
1/4 c. garlic paste
freshly ground black pepper
coarse sea salt
1 onion (optional)
Slather the chicken all over with garlic paste, inside and out. (Make sure all the organs have been removed from the cavity before starting.) Sprinkle generously with black pepper. Scatter a few small pinches of sea salt over the surface as well. If you have an onion on hand, peel it and cut it into eighths. Place one piece of onion inside the chicken. Place the remaining onion in the pan around the chicken.
Preheat the oven very hot (450F). Once oven in preheated, place chicken inside. Immediately reduce temperature to a moderate level (350F). Cook chicken for ~2 hours.1 Remove chicken to a serving platter, and let rest for 10-20 minutes. While the chicken rests, you have the perfect opportunity to make gravy with the pan drippings.

Place the roasting pan over medium heat. Add a bit of water (I think I used ~1/2 c.), swish it around, and vigorously scrape the bottom of the pan to release any cooked on bits of deliciousness. Get yourself some more water and mix in a few Tbsp. of flour. Mix well. Pour the flour-water mixture into the pan and cook, continuing to stir and scrape the bottom of the pan, until sauce thickens.2 Pour into a jug or gravy boat. If gravy seems very fatty, you may want to let it rest for a few minutes and then skim some of the fat off the top. Season to taste with salt and pepper (although I didn't need any this time) and enjoy with your delicious roasted chicken!
1 The rule of thumb I was taught says 20 minutes per pound + 20 minutes. Accordingly, I cooked my 6-lb. chicken for 140 minutes (20*6+20). And the results were incredibly delicious. That said, I think it would've been done twenty minutes earlier and this would have resulted in even juicier, more succulent meat.↩
2 Some cooks will strain the gravy at this point, removing any lumps, chunks of onion, etc. I find that I don't tend to have issues with floury lumps forming and I quite enjoy the blackened chunks of roasted onion floating in the sauce, so I never bother with straining for my part.↩
Comments
Post a Comment